If you are a beginner or a pro-marked photographer, this guide will help you improve your E commerce product photography services and make more money as well as become the best product photographer in Dubai. Learn how to shoot for ideas, tips on difficult items to photograph (like jewellery), how to take photos in different environments by following the techniques in this guide. You will learn how to set up your camera and use diverse types of lighting in order to achieve better photos. It is critical to have consistent, high-quality photography for products for your business to stand out from other competitors. For e commerce purposes, the most important aspect of product photography is having an image that shows off your products in an appealing way no matter what size in which it is used. E commerce product photography is shot in batches, so it is important to maintain consistency in the look, feel, and framing. This means doing everything you can to make each photo look as similar as possible. This includes camera settings, lighting, and environmental elements.
Ultimate Guide to Product Photography
This guide provides you with all the necessary steps to set up and photograph your product for an attractive and enticing online presence. The ultimate goal is to guide the buyer in the right direction, ultimately leading them to buy. This will assist you in capturing high quality images of your product which helps increase sales and brand loyalty.
Also Check:
How to Plan a Corporate Event in 2022
• Photo box

A professional product photographer can dramatically improve the quality of your photos by using a photo box. This light box allows you to add light to your image, and it comes with backdrops in assorted colors that will maintain your image style. Your photos will look professional, with sharp focus and crisp backgrounds. Using a photo box is the easiest way to get professional product photography. You can use it to photograph food, cosmetics, clothing, toys and many more products. It will not only enhance your images but also help you present your brand in the best way possible.
• Angles
When you are shooting a product, make sure to shoot the product from all angles. When a customer sees it in pictures online, they want to know they have been able to see every side of the item before deciding if they want to buy it or not. Not only do customers want to see the product from all angles, but they also want different views (front view, oblique view, etc). Avoid using straight-on shots that are boring and stale. And ensure that all your product images have been taken using natural light or overhead lighting whenever possible.
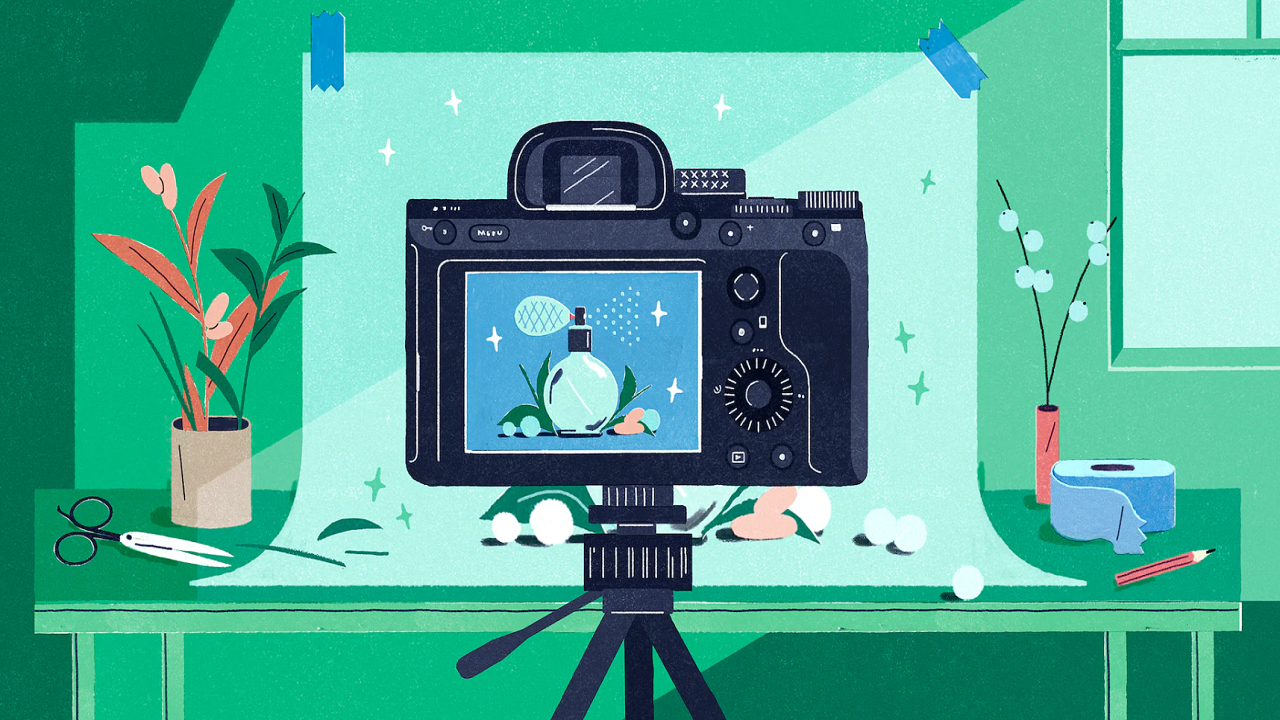
• Use a tripod

Keep your camera steady and on a tripod to avoid blurriness. This will also help eliminate camera shake, which can happen if you are shooting with your hands or using a live view on your LCD screen to set up a photo. For example, keep the aperture wide open while in Aperture Priority mode (higher number means smaller opening of lens) so light hits your subject without distortion or artifacts.
• Theme
Product photography is the hot new way to market your products and it is essential to use the best background possible. Your background should create a theme of your product based on the type of product you are shooting. The easiest ways to do that is by using colors that pop and textures that complement your item. The art of highlighting your product starts with the right setting.
Tips for product photography
Think of your product photography ideas as a visual expression of your brand. This means that each image needs to speak directly to the customers who have come to see it. The more you know about your audience, the more you can tailor the environment around you and make it feel familiar — even if those shoppers are hundreds or thousands of miles away.
• Camera settings
The manual settings should be used when capturing close-ups, macro shots and product photography. This control allows you to adjust the exposure (ISO), shutter speed and aperture within the camera, giving you greater control over light quality. Making sure that the settings are correctly set to match the type of photo you are shooting will make an enormous difference in how your photos turn out. The settings are dependent on what light sources you have available and what color temperature they emit. For example, if you have an indoor shot with natural light coming in from a window, keep the ISO at 1000-2000 and avoid using flash as it offsets the natural light that is already present.
Feature Article:
Tips and Tricks to Enhance Your Food Photography Skills
• Continuous light
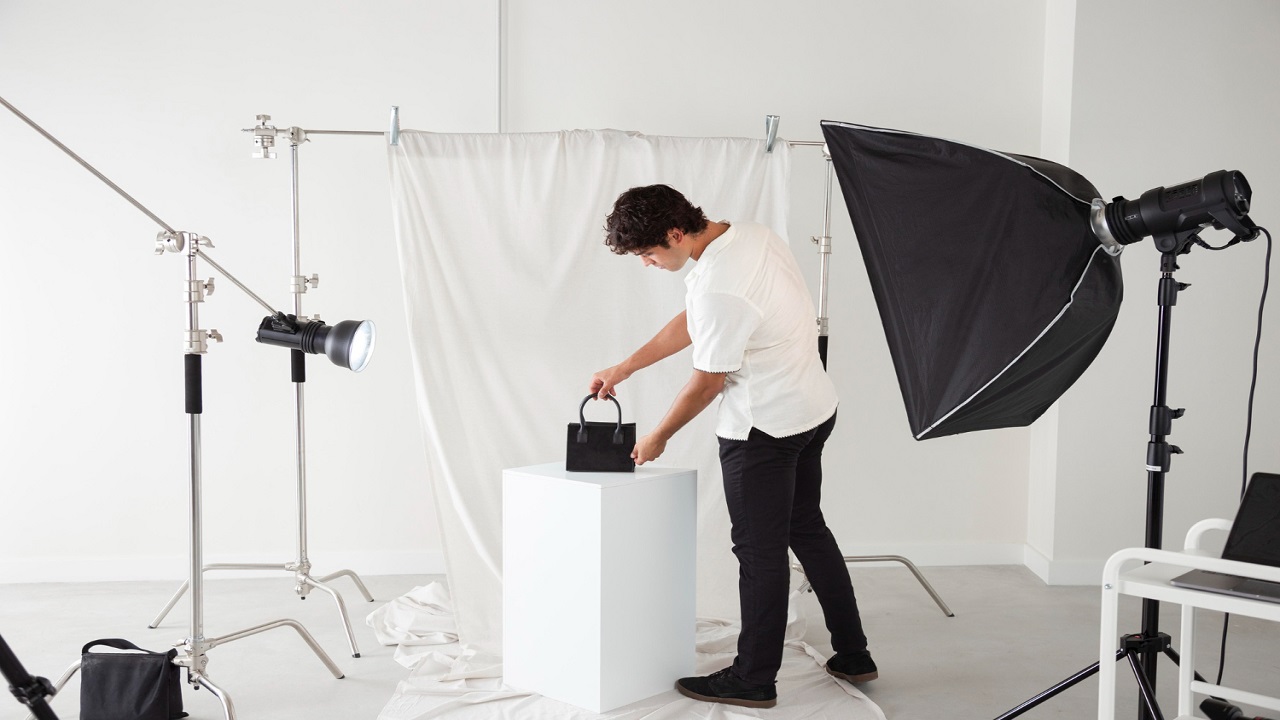
In the perfect world, your photography studio would be filled with sunlight. But in the real world, this just is not possible. Even on a bright day you might find yourself shooting in the shade or indoors. That is where continuous light comes in – it can illuminate even dark backgrounds and create the most beautiful backgrounds for your products. Continuous light illuminates a subject where the photographer can move around. This allows for flexibility when shooting your product and also allows using reflectors or diffusers on the light to control shadows and highlights.
• Accessories & props
Once you are happy with your product’s styling, it is time to add accessories, props, and backgrounds. Include as many or few of these elements as you like. Adding accessories and props to your product photography can help you to tell a story and visually attract your customers. The addition of accessories and props is a sure-fire way to enhance your product photography. Customers want to see your product in use, against a backdrop that is not just the same old boring white. Your photoshoot should include accessories and props that show customers how they can really incorporate your product into their daily lives.


